Congrego® users have the ability to make complete backups of the system, including the data, server configuration, drivers and log files.
These backups can be run either manually or scheduled to be performed automatically, on a regular basis.
The Backups menu item is found under the Settings Menu and will display a list of all of the backups currently configured, as well as their status and any error messages.
Congrego® comes pre-configured with an automatic backup called “Monthly Configuration Backup”.
This backup is set to save the server configuration and the drivers, on the first day of every month from the date of installation.
The backed up files are saved to: <Host Drive>:\ProgramData\Ecotech\Congrego\Backups
These backups are stored as Zip files with a file name format including the backup name, year, month, day and time.
Example: Weekly Config Backup_20190411_000000
Creating a New Backup
To create a new backup, use the New Backup button at the top of the menu and open the setup menu.

Backup Button Options
The following fields must be completed.
Label
Enter a meaningful name for the backup, for example: Monthly Configuration Backup
Backup Items
Select which aspects of the logger to backup, including the server configuration, the installed drivers, the event log files and the raw data.
Note that if choosing to backup raw data files, Congrego® lets users choose a maximum number of days to backup by using the Backup Size (days) field.
Target Folder
Choose the destination for the backup file. This could be an external drive or a specific location on the computer.
If setting this up from a remote Client it should be noted that the folder path is relative to the host machine that the Congrego® Server is running on and not the remote Client machine. |
Comments
The comments field allows users to input a comment regarding the backup.
This comment is associated with the backup file and can help identify the backup and contain any other relevant information.
Once the backup has been configured, users can save the new backup and it will appear in the menu on the left.
This backup is then available to be run manually using the Run Now button, or set to run on an automatic schedule.
Scheduling an automatic backup
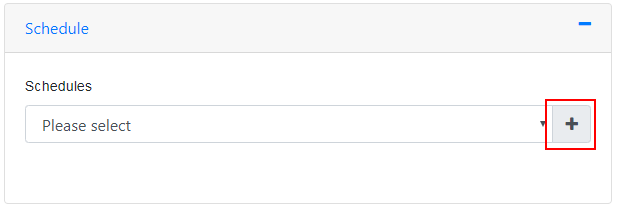
A new schedule can be added by expanding the Schedule section.
Click on the "+" icon to add a new schedule.

Add Backup Schedule
The following fields need entering.
First Run
Choose the start date and the start time for the schedule. This date can be set in the past.

Schedule First Run
Expiry
Choose the date and time for the schedule to end. It is not possible to set the end date as blank, but users may choose a date far in the future to ensure the schedule doesn’t stop running.

Schedule Expiry
Repeat Interval
The Repeat Interval defines the period after which the schedule will run again.

Schedule Repeat Interval - 7 Day Example
Run Filters
The filters determine when the schedule will and won't run, there are four available:
•Day Of Week - Any day or a specific day of the week
•Day Of Month - Any day, the final day of the month or a specific day
•Week Of Month - Any week, the final week or a specific week
•Month Of Year - Any month or a specific month
Schedule Missed
If an event occurs that prevents a schedule from running, such as a power failure, choose what to do when the system is operating again:
•Don't Run - Don't try and catch up on the missed schedule(s)
•Run Once - Run the schedule once
•Run Every Interval - Run the schedule for every repeat interval missed up to the current time
Enable/Disable
Use this switch to disable a schedule temporarily.
Removing a Schedule
Users can choose to remove or delete a schedule.
To remove a schedule, choose Remove Schedule at the bottom of the menu.
Remove Schedule
The schedule will be removed but this change will not be persisted until the Save button is selected.
Once the schedule has been saved check that the Next Run date for the backup is as expected.
 Backup Schedule with Error |
 Backup Schedule OK |
In this example, with the error condition, we can see that the Next Run date is the year 9999, so there is an issue with our schedule configuration.
In the other schedule, that has completed at least once, we can see valid Last Run and Next Run dates.